Professional Photo Scanning Service
Transform your printed memories into high-quality digital formats that last forever

Why Choose DigMyPics for Photo Scanning?
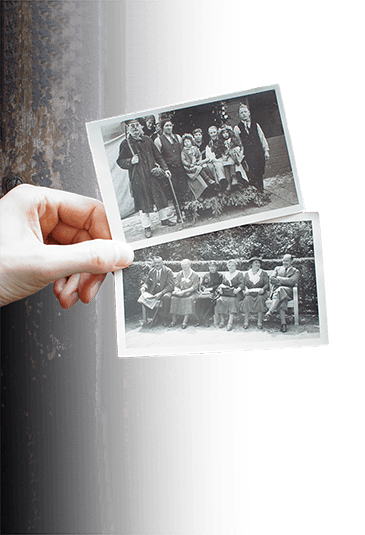
Remember gathering around the family photo album, sharing stories and memories? We do too. That's why DigMyPics treats your photos with the utmost care – preserving those precious moments for generations to come.
- Hand Scanned, Never Auto-fed: Each photo individually handled for optimal care
- Real-Time Viewing: Watch your photos appear online as we scan them
- "Don't Want, Don't Pay" Guarantee: Delete up to 20% of scans you don't love
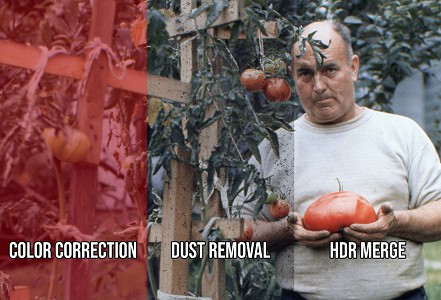
- Advanced Image Enhancement: Color correction, dust removal, and FaceEnhance AI
- USA-Based Service: Your photos never leave the country
- Trusted Since 2002: Over 20 years of photo preservation expertise
Premium Archival Photo Scanning Service
Give your photos the professional treatment they deserve with our archival-quality scanning process.
Expert Technician Review
A skilled technician reviews each photo before scanning to assess the photograph and selected resolution, determining the best equipment to use. We also offer premium handling services for delicate or special photos.
Hand-Scanned Quality
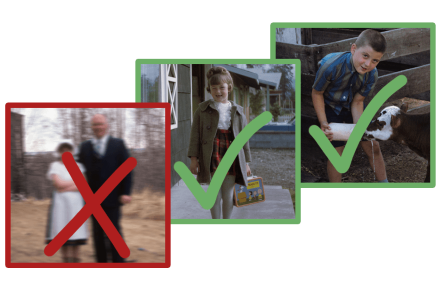
We scan each photo by hand, one by one, ensuring the highest quality and care for your precious memories. Unlike competitors who use sheet feeders that can damage photos, we prioritize safety and quality.
Safe Handling Guarantee
Your original photos are handled with the utmost care throughout the entire scanning process. Have other media to digitize? We also offer slide scanning, negative scanning, and video transfer services.
Our Unique Photo Scanning Services
Exclusive features that make our photo scanning service special
See Your Photos As We Scan Them
Our exclusive Real-Time Photo Scanning service allows you to see each photo as we scan it. This unique feature makes it fun for you and your family to watch your account every day as new photos become instantly available the moment we've scanned them.
Learn More About Real-Time Scanning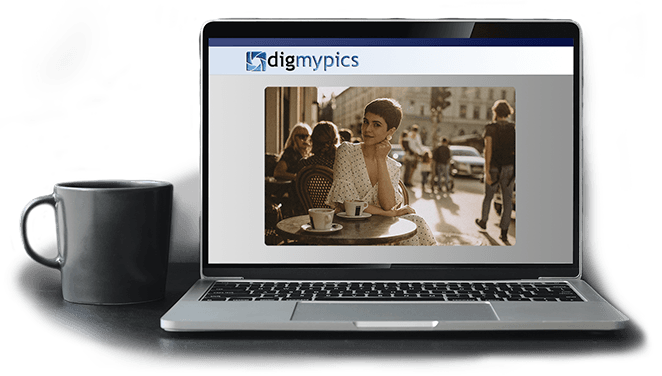
Delete Unwanted Photo Scans
With our unique Don't Want, Don't Pay™ system, you can delete up to 20% of the scans you don't want, and you won't pay for them. We're so confident you'll be thrilled with the quality of your newly digitized photos that we guarantee your satisfaction.
Learn More About Don't Want, Don't PayPremium Equipment for Superior Photo Scanning
Beware of Low-Cost Scanning Services
No batch photo scanning feeders, no document scanners. Those devices can scratch and dog-ear your original photos and leave digital lines and streaks on the scans they produce. We use professional-grade equipment to ensure the highest quality for your scanned photos. If you're comparing photo scanning services and see a lower price per photo, it's because that company is using a sheet feeder.
Learn more about why sheet feeder photo scanners are bad and why DigMyPics won't use them.
Photo Scanning Information
Our 20+ years of scanning experience have helped us perfect the photo scanning process
Why Choose DigMyPics for Photo Scanning?
- Hand Scanned, Never Auto-fed: Each photo is individually handled by a skilled technician for optimal care (no risk of feeder jams or scratches).
- Real-Time Viewing: Watch your photos appear online as we scan them, thanks to our Real-Time Scanning™ feature.
- "Don't Want, Don't Pay" Guarantee: Delete up to 20% of scans you don't love – automatically deducted from your bill, no questions asked.
- Advanced Image Enhancement: Included color correction, dust removal, and our free FaceEnhance sharpening make your images look their best.
- USA-Based Service: Your photos never leave the country – all scanning is done in-house in the U.S. by experienced staff.
Remember gathering around the family photo album, sharing stories and memories? We do too. That's why DigMyPics treats your photos with the utmost care – preserving those precious moments for generations to come.
Choosing the Right Resolution (DPI)
Why Resolution Matters
600 dpi is the recommended resolution for scanning your printed photos. The higher resolution is important when it comes to enlarging, reprinting, and editing the photos. For prints smaller than 4x6, you should consider having them scanned at 1200 dpi.
Resolution Comparison
At 600 dpi, you can print up to twice the original size, and at 1200 dpi, you can print up to four times the original size. A 4x6 print scanned at 600 dpi will produce a digital photo of 2400 x 3600 pixels. For comparison, a 4K TV is 3840 x 2160 pixels.
| Original Size | 600 DPI | 1200 DPI |
|---|---|---|
| 4" x 6" | 2400 x 3600 pixels | 4800 x 7200 pixels |
| 5" x 7" | 3000 x 4200 pixels | 6000 x 8400 pixels |
| 8" x 10" | 4800 x 6000 pixels | 9600 x 12000 pixels |
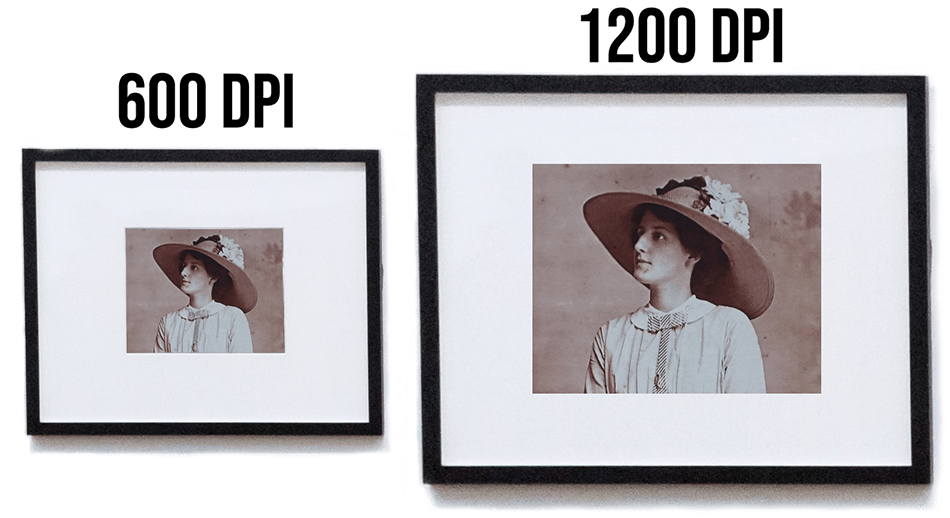
Visual comparison of 600 DPI vs 1200 DPI scanning resolution
Scanning Photos from Albums

Album Scanning Service
This is a premium service, and the price is additional to the photo scanning charges. To add the photo album scanning service, first count the photos and types in the albums and add those to the cart. Then, sum those numbers and add the total to the Remove Prints From Albums option in the cart.
Photo Scanning Pricing
Standard Printed Photos 600 dpi - $1.49 per scan
Standard Printed Photos up to 8x10 at 600 dpi.
Standard Printed Photos 1200 dpi - $2.99 per scan
Standard Printed Photos up to 8x10 at 1200 dpi. Produces 4 times as many pixels as a 600 dpi scan.
Recommended for prints that are 4x6 or smaller.
Non Standard Prints
Cards, children's artwork, documents, IDs, clippings, etc. Up to 8x10
- 600 DPI $2.25 per scan
- 1200 DPI $3.75 per scan
Over Sized Printed Photos - $4.95 per scan
Photos, newspaper clippings, children's artwork greater than 8" X 10" and less than 11" X 14"
- 300 DPI $4.95 per scan
- 600 DPI $5.95 per scan
Remove Prints from Albums - 99¢ per image
We can remove the pictures from the album or we can scan the page and digitally crop out each individual photo. This is a premium service. This is just the charge to remove the photos from the albums. Scanning is additional.
Add to Your Order
Enter the estimated quantity of items you need to digitize. We'll charge for the exact number once your project is completed.
Need Help?
Not sure what to order? Have questions about our services?