Digital Delivery Options
Choose the best way to receive your digitized memories
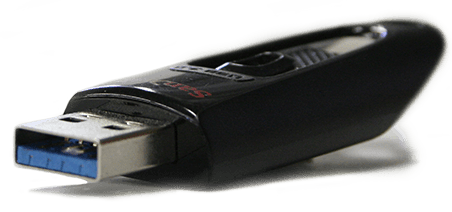
Flash Drive
A flash drive is easy to use and provides a backup for your photos and videos separate from your home computer. Flash drives are our most popular delivery option because they're convenient, portable, and compatible with virtually any computer.
Recommended for: Most customers who want a physical copy of their digitized memories.

Disc Set
Discs are an older media type that still remain popular but are reaching the end of their usability. Many newer computers no longer include disc drives, but we still offer this option for customers who prefer this traditional format.
Recommended for: Customers with older computers or those who specifically need disc-based media.

Download
Our downloader makes it easy to download your newly digitized files onto your home computer. This eco-friendly option eliminates shipping costs and allows you to receive your digitized memories as soon as they're ready.
Recommended for: Tech-savvy customers who want immediate access to their files and have adequate storage space on their devices.